Product Design
Building a prototype – Part 2
This is where I try to improve the rig by building better lighting and using better lenses on the cameras.
I figured that better uniform lighting all around the rig, combined with decent lenses, might be the winning combination for the scanner. If my reasoning is correct, I might actually be done with this.
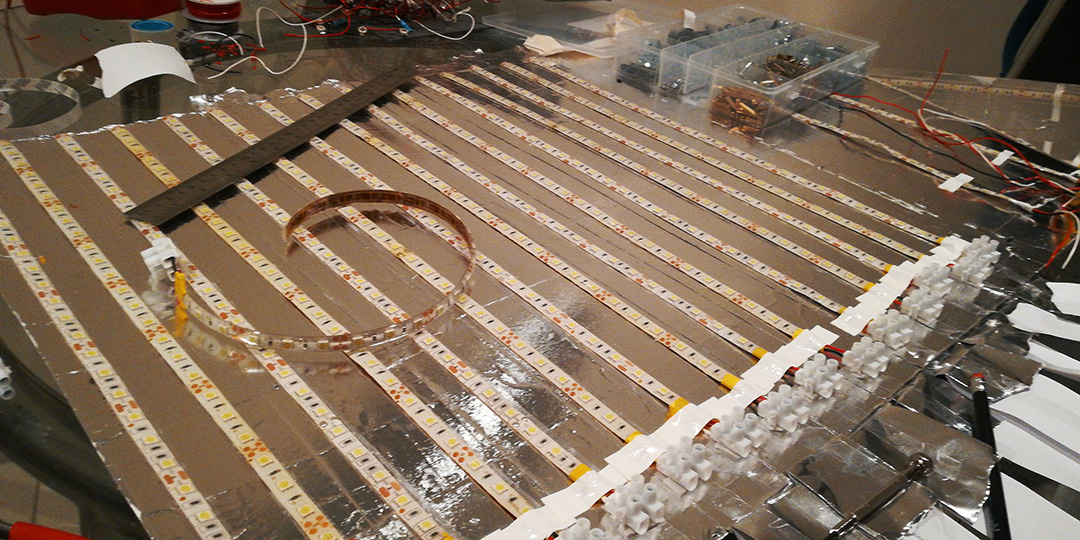
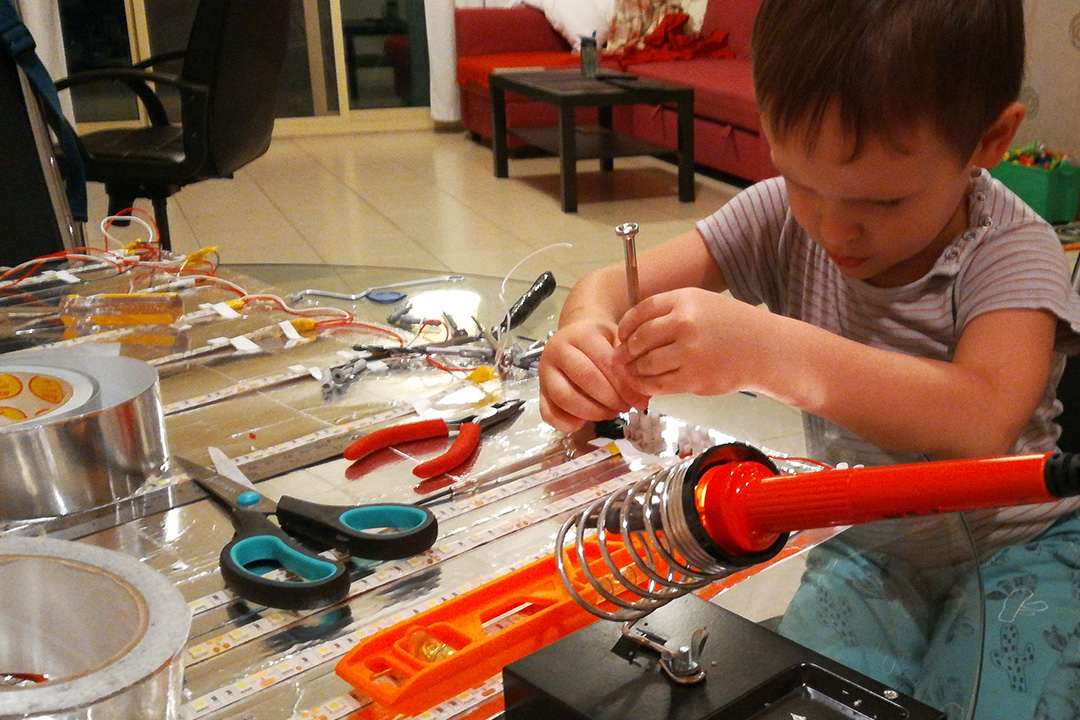
I started out by fixing equally spaced LED strips onto the flat surface, together with connections. It was quite a laborious process, but I hope that, if the lighting is done just right, scans will be flawless. Since there is a lot of work to be done I needed some help.
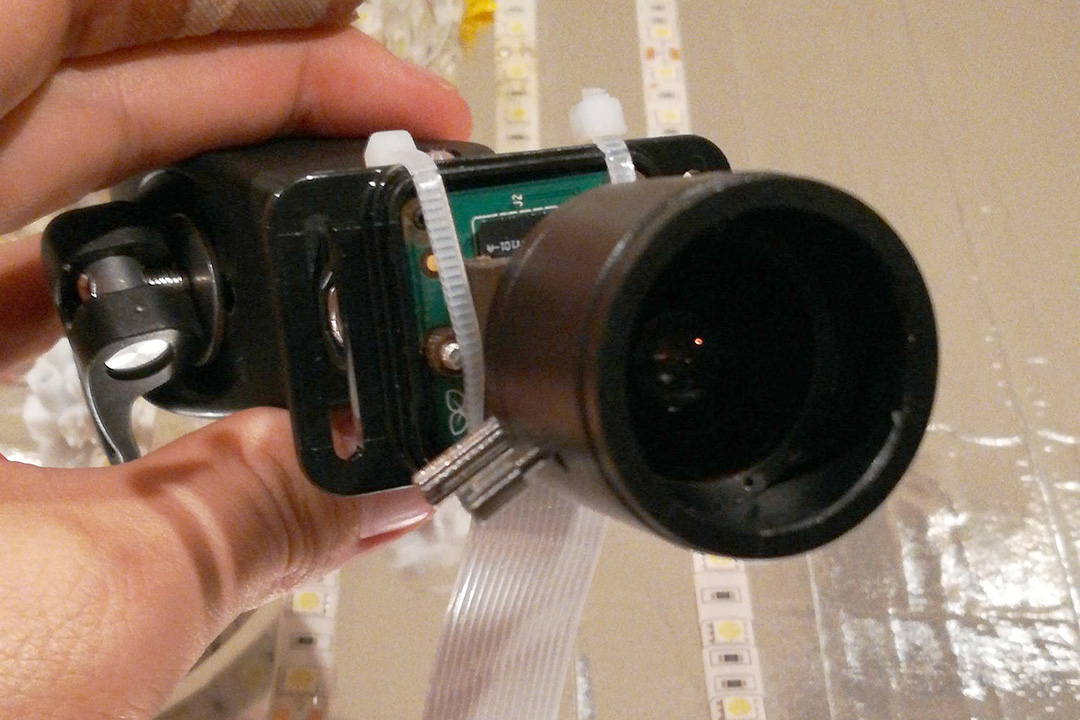
Lenses
This is the pain point. I spend hours and hours of reading different forums and different sites to get any information on what lenses would be the most suitable for this kind of task. I ended up choosing varifocal lenses, which I think would be my best bet in this case.
Putting it altogether… again!
Time to fit all the things back together. I started pretty much from zero and wrapped it all up in a closed off “case”. Yes, it’s ugly, but it feels much sturdier than previous attempts.
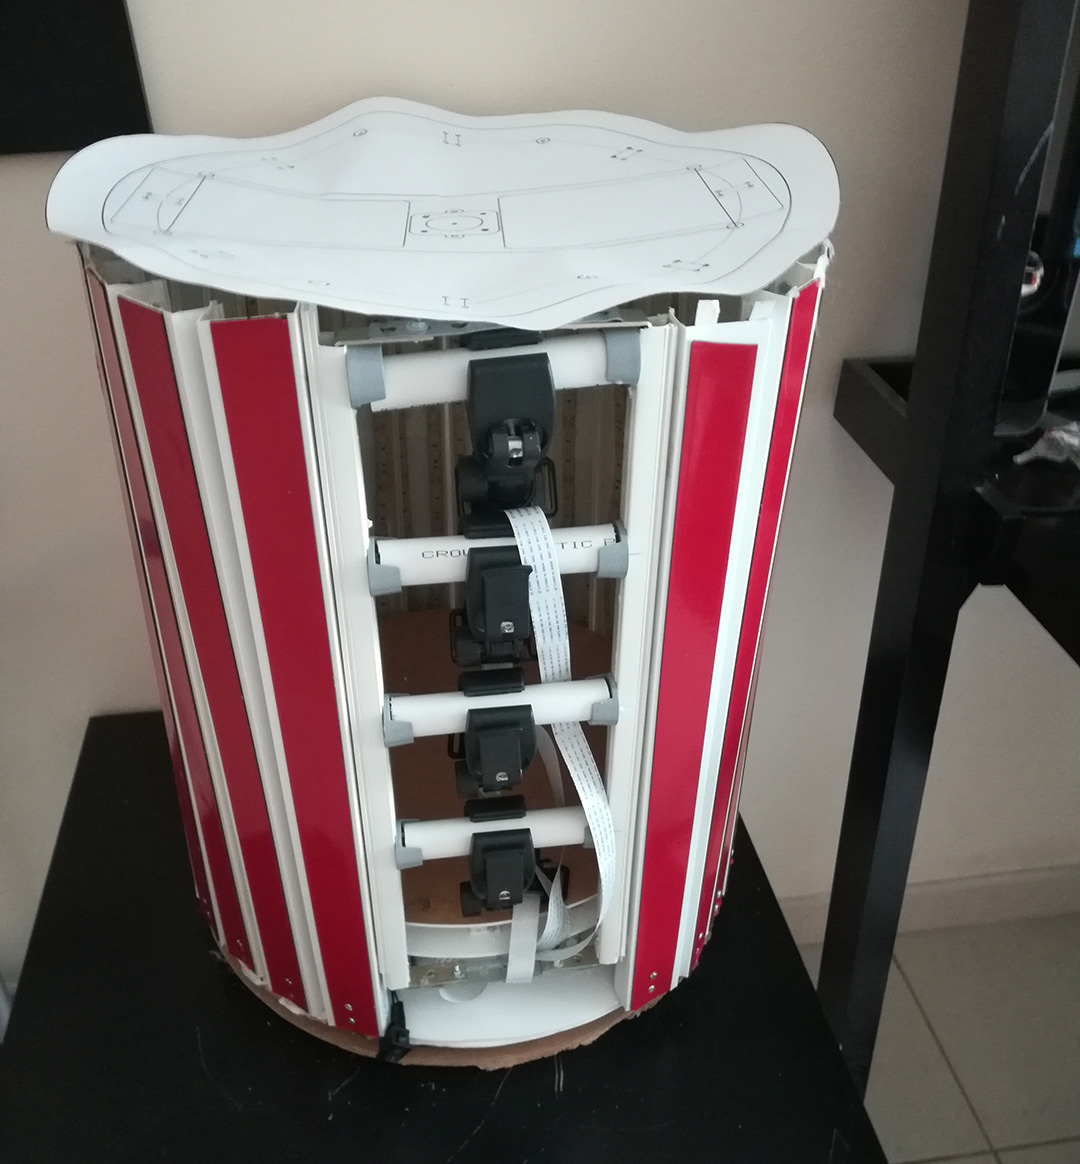
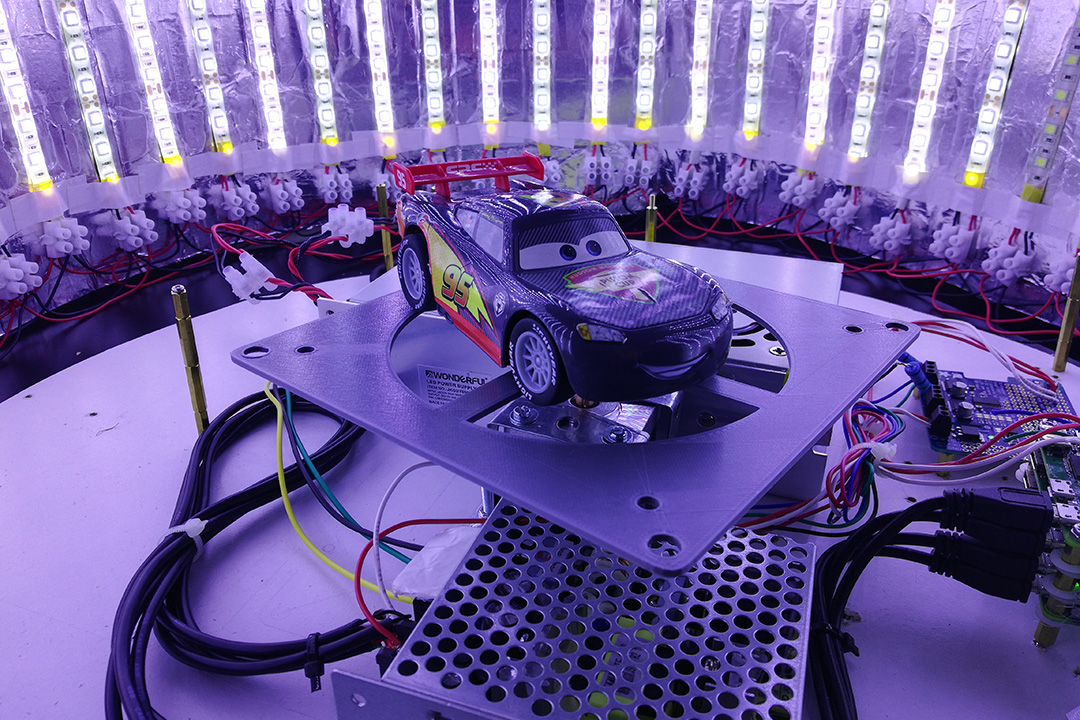
Lighting it all up with Lighting McQueen. My phone didn’t adjusted well to all the LED’s.
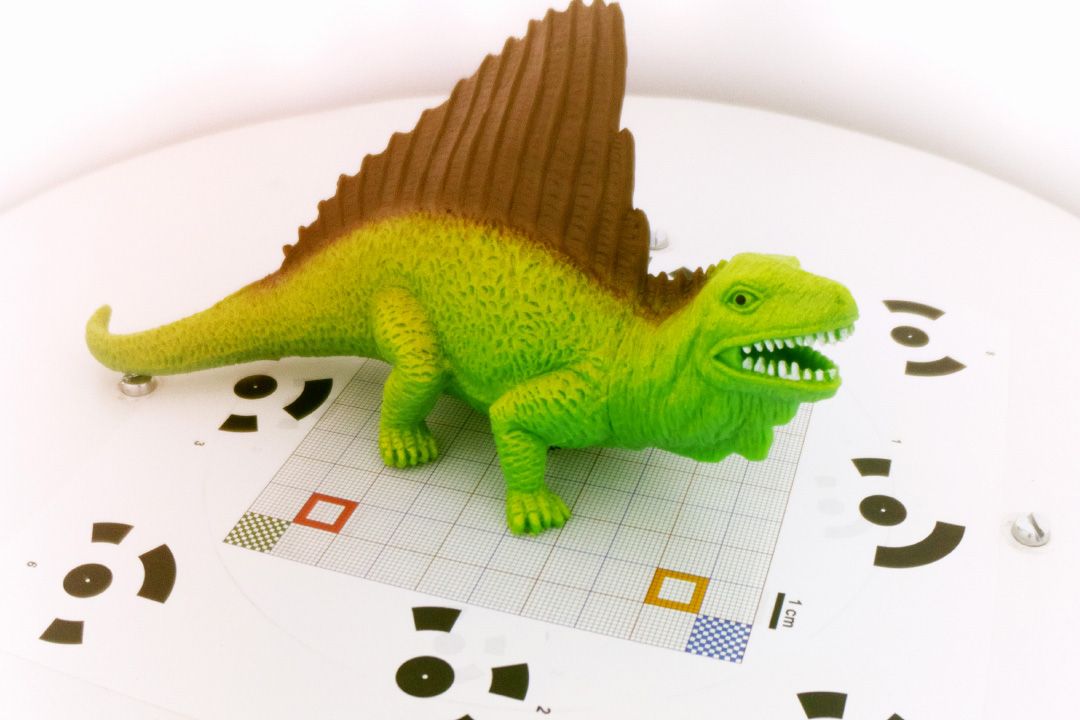
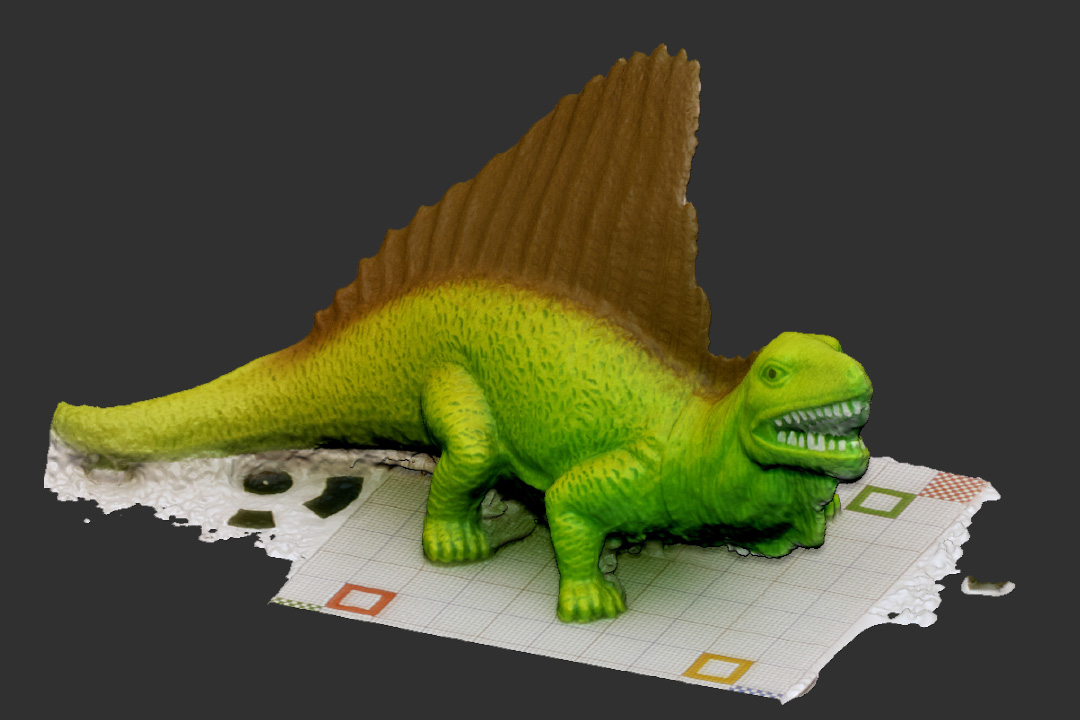
Let’s test it.
I have run several test scans on this rig and can tell the results are somewhat satisfactory. It’s not exactly what I was hoping for, but improvement, albeit slow and painful, is visible. Some new issues have emerged, such as heat. So many LED’s make it quite warm inside, so they might need cooling.
Aside from that, the rig is ugly. That’s the truth, and something to address in the next iteration.