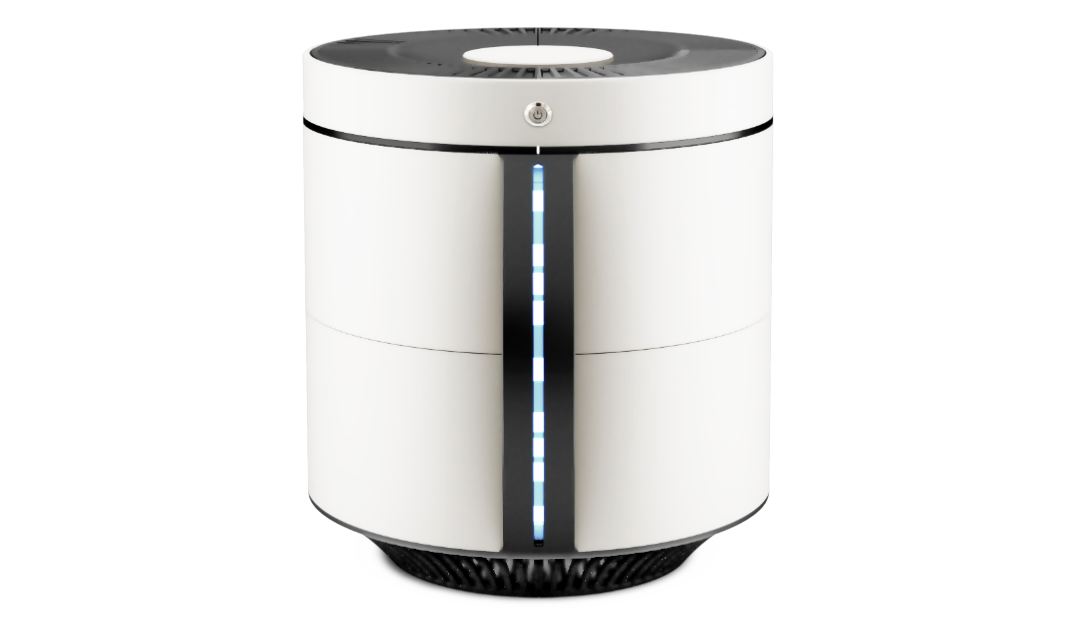
Product Design
Proving I was right (or not?)
I decided to go ahead and test it to see if my idea really works. There is no point in building anything unless we know whether it is going to work or not.
I reached several conclusions during this test:
1. I was right! It does work, but…
2. … it’s more complicated than I anticipated.
3. I have no clue how to build it.
Read on to find out how the testing went.
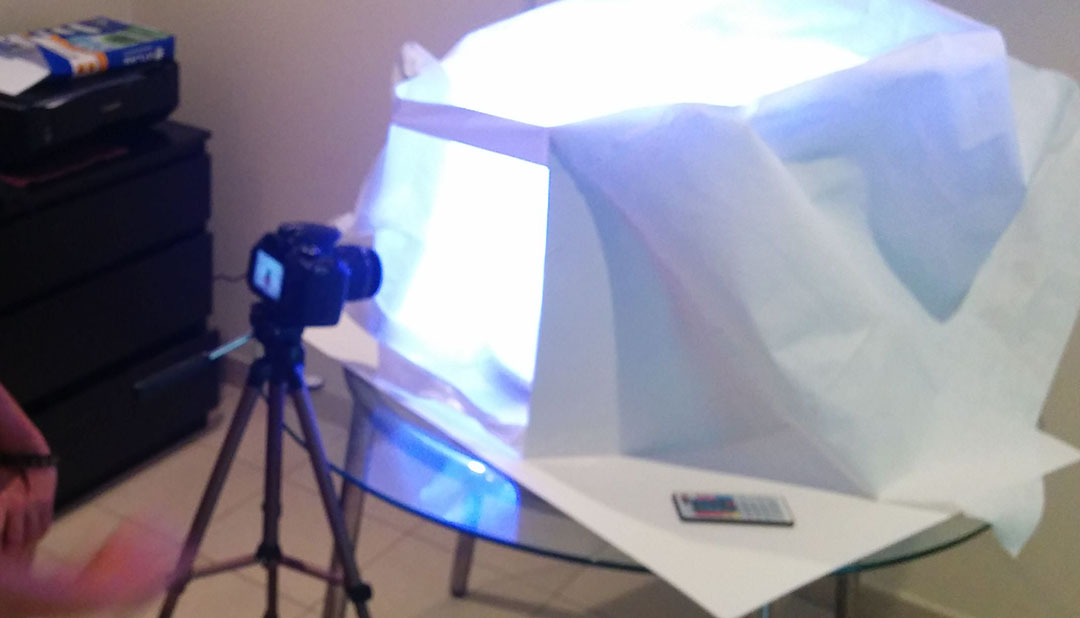
Initial test consisted of one Lazy Susan from Ikea, one cardboard box, a couple of large sheets of white paper, and some LED strips. I made marks on the platform to divide it into equal rotation steps and moved the camera up and down arbitrarily. Yes, it’s still a manual method, but hey, the point is to prove the concept.
Initial results failed multiple times until I realized something. Everything is bright white and the reconstruction software has no clue what is where or where the floor is.
That was when Melman got green screened.
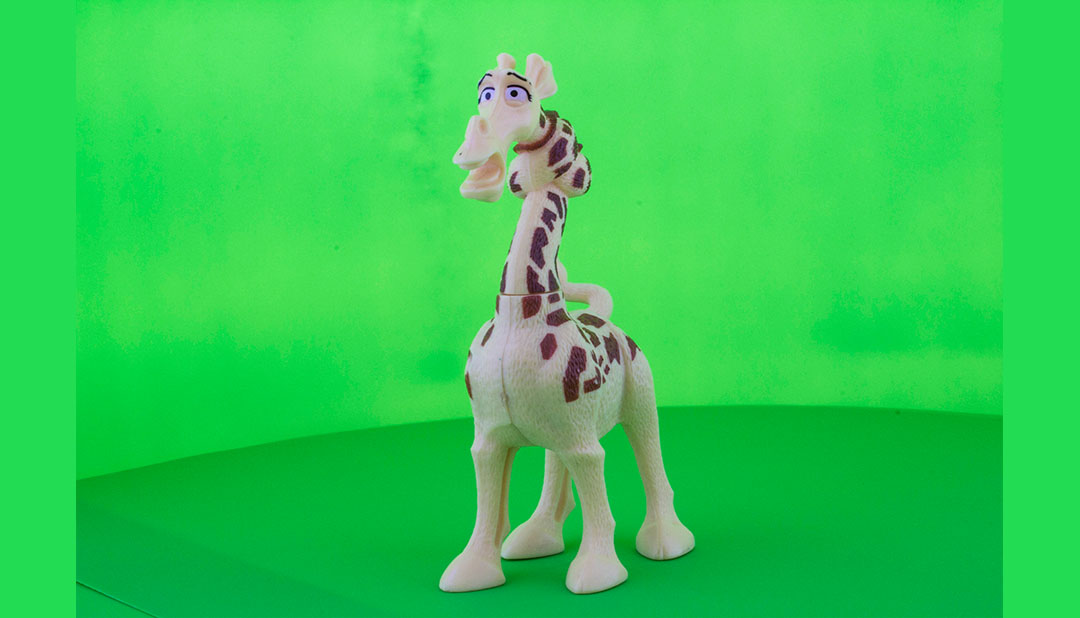
Well… this worked!
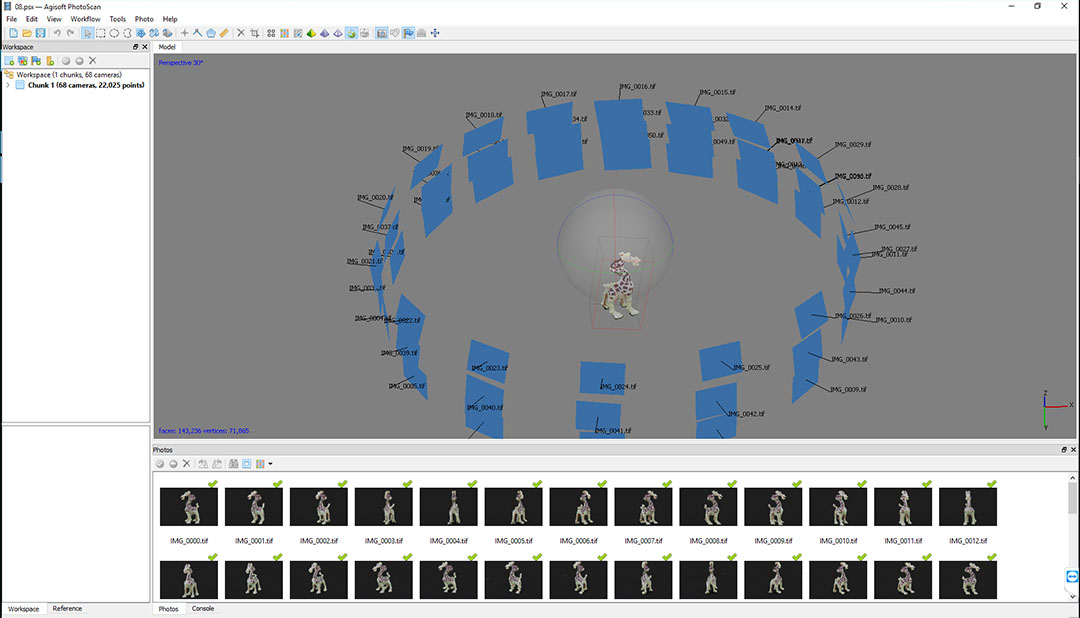
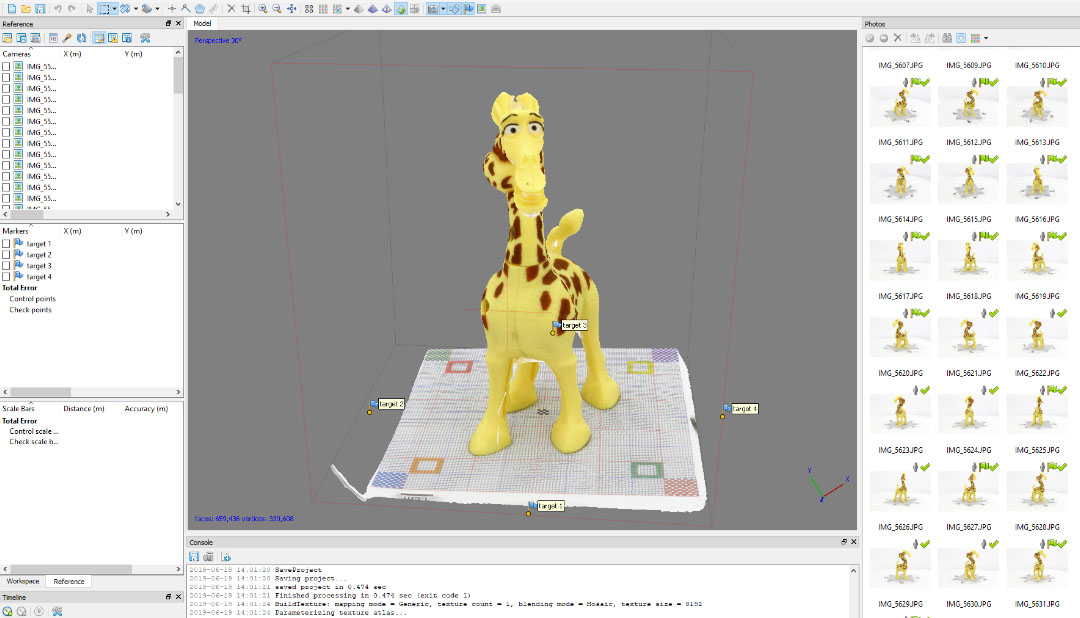
And it worked rather well. Once I removed the background from it and ran it through PhotoScan, results were more than decent. Having a good mask changes everything. I used the one generated from the green screen removal and boom, everything aligned perfectly.
Green screening worked to an extent.
Issue is, there is a lot of green spill over the colors as you can see bellow, making it look dull, and messing up the colors.
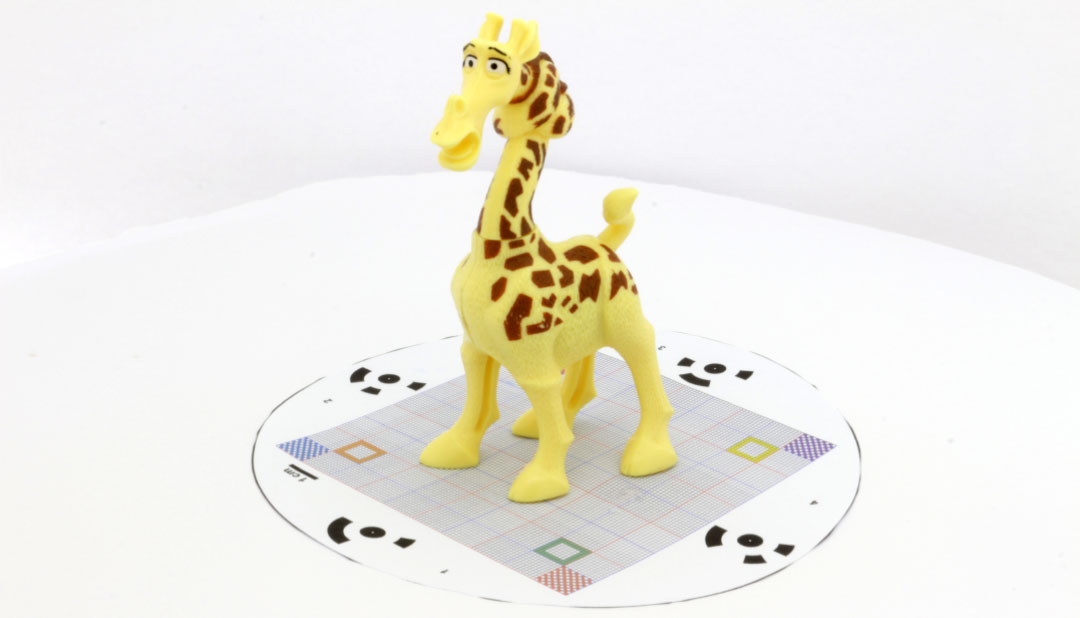
To fix it, I changed the approach. I left the white background, used the auto masking feature and added some markers to tell the program where the floor is. Once done, result are quite amazing.
In conclusion…
I found what works and what doesn’t work. So, let’s discard what doesn’t work and focus on doing more of what does work. Sounds simple enough.
Not really. Building an actual device is a completely different beast.